
Experience the Ultimate 1.33‑inch WiFi Transparent TV Display – Creative, Compact, and Powerful with ESP32‑S3
Welcome to the future of ultra‑miniature display technology. The Ultimate 1.33‑inch WiFi Transparent TV Display – Creative, Compact, and Powerful with ESP32‑S3 is the perfect solution for makers, IoT developers, hardware innovators, and creative enthusiasts looking for a standout display module. This innovative product brings clarity, wireless capability, and a transparent panel into a sleek 1.33‑inch form factor, powered by the stable and efficient ESP32‑S3 MCU.
📺 Why Choose This 1.33‑inch WiFi Transparent TV Display?
-
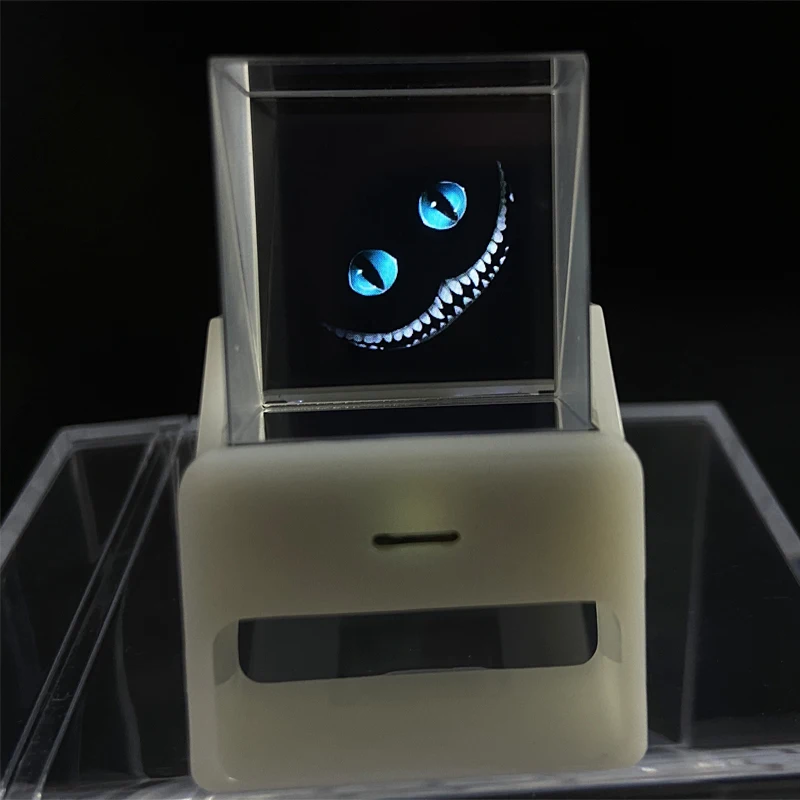
Creative Design: The transparent IPS screen offers a see‑through panel that elevates the visual appeal of any project. It’s not just a display, it’s a design statement.
-
Compact Build: Measuring just 1.33 inches diagonally, the display fits into even the most space‑conscious builds—ideal for wearable tech, smart ornaments, or mini retro TV prototypes.
-
Powerful Performance: Powered by ESP32‑S3 with 8 MB PSRAM and 8 MB FLASH, this screen can handle WiFi, graphics, and color visuals smoothly.
-
Full‑Color IPS Display: At 240 × 240 resolution, the IPS panel produces vivid colors and wide viewing angles in a compact form.
Technical Highlights
-
Display Size: 1.33 inches diagonal
-
Resolution: 240 × 240 IPS LCD
-
Panel Type: Transparent, see‑through design
-
Controller: ESP32‑S3 microcontroller featuring built‑in WiFi
-
Memory: 8 MB PSRAM and 8 MB internal FLASH
-
Connectivity: On‑board WiFi 2.4 GHz
-
Power: Low‑voltage, efficient consumption suitable for battery operation
Who Is It For?
-
DIY Makers & Hobbyists
Transform your Raspberry Pi, Arduino, or ESP32 setup with this 1.33‑inch WiFi Transparent TV Display. Whether you’re experimenting with animated digital art, info panels, or smart displays, the transparent panel lets the tech shine through literally. -
Educators & Students
Teach embedded systems, wireless communication, or IoT project lessons using a module that clearly demonstrates modern architecture—transparent design meets hands‑on learning. -
IoT Innovators
Use the ESP32‑S3’s processing power and memory to stream WiFi‑based data, sensor graphs, or custom UIs on a transparent screen that looks sleek in wearables or smart objects. -
Design‑focused Creators
Turn the module into a ghost‑view gadget, transparent notification screen, or embedded HUD. The creative possibilities are vast.
Key Features in Detail
1. Transparent IPS Display (240 × 240)
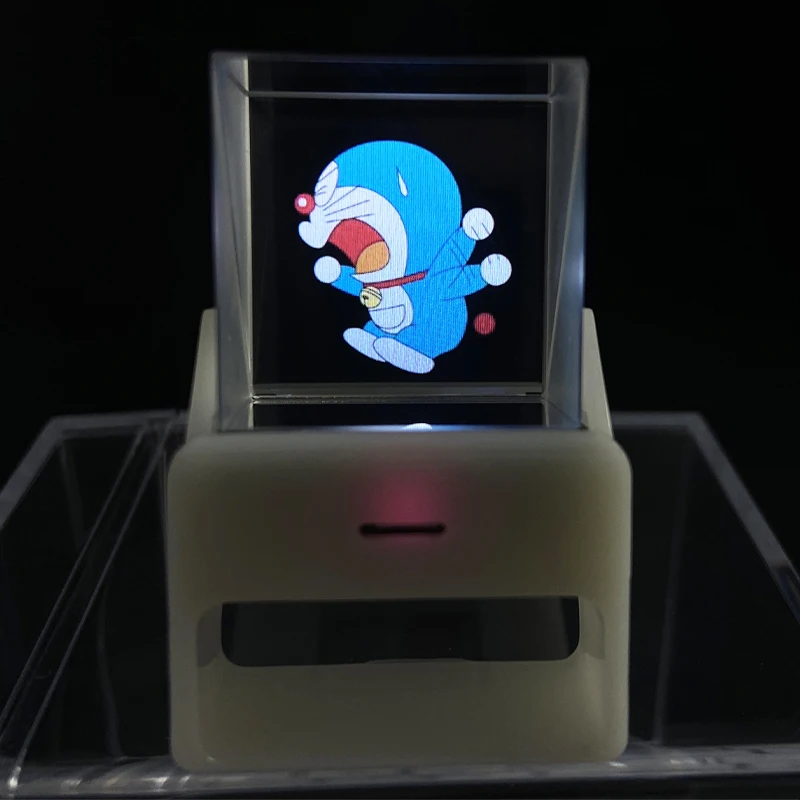
The standout 1.33‑inch WiFi Transparent TV Display panel features an IPS (In‑Plane Switching) technology LCD for crisp, consistent color across wide viewing angles. The transparent panel design means when the display is off, it blends into the background—perfect for smart decorative builds. When active, the display pops with color and clarity, drawing attention to your content.
2. ESP32‑S3: Integrated WiFi and Performance
At the heart of the module sits the ESP32‑S3, a modern microcontroller with integrated IEEE 802.11 b/g/n WiFi. With 8 MB PSRAM and 8 MB internal FLASH, you get enough memory to host complex graphics, buffers, and WiFi code simultaneously. It’s great for streaming content, running animated displays, or serving as a remote visual terminal.
3. Compact and Lightweight
Weighing just a few grams and measuring just 1.33 inches across, this display is designed for portability and size‑conscious projects. It’s ideal for wearable devices, compact art installations, or prototypes where space is at a premium.
4. Energy‑Efficient Design
Built on low‑power IPS and ESP32‑S3 technology, it supports sleep modes and optimized power usage. Whether powered by USB or Li‑ion battery, this little screen delivers efficiency without compromising performance.
5. Easy Integration & Software Support
-
Example projects and code snippets available for Arduino and MicroPython
-
SPI or parallel interface support for graphics
-
ESP‑IDF examples showcasing WiFi use
-
Community forums and tutorials abound for rapid prototyping
Popular Use Cases
-
Mini Transparent TVs: Build a tiny transparent TV display showcasing custom animations, retro video, or ambient visuals.
-
Info Displays & Smart Mirrors: Place behind clear acrylic or glass to show overlay information or notifications.
-
Wearable Heads‑Up Display (HUD): Attach to goggles or glasses for futuristic wearable data display.
-
IoT Status Panels: Receive live sensor data—temperature, humidity, QR code scan results, or smart home status—and display it on this creative transparent panel.
Benefits Recap
| Feature | Benefit |
|---|---|
| Transparent IPS Panel | Stylish and futuristic visual aesthetic |
| 240 × 240 Resolution | Sharp, clear visuals on a small canvas |
| ESP32‑S3 + 8 MB Memory | Handles WiFi and graphics with ease |
| Compact 1.33″ Size | Fits into confined or wearable projects |
| Low Power Usage | Battery‑friendly for portable applications |
| Simple Integration | Widely supported in maker communities |
How to Get Started
-
Power and Wiring
Connect the display to a 3.3 V power source (USB or battery) and link the SPI data lines. The on‑board ESP32‑S3 handles the display controller and WiFi. -
Install Software
Use Arduino IDE (with ESP32 board support) or MicroPython for coding. Load example sketches demonstrating graphics, animations, or WiFi-driven content streams. -
Customize for Your Project
Modify source code to display data from sensors, live feeds, or custom animations. With the transparent nature of the display, you can overlay content onto backgrounds or integrate into see‑through surfaces. -
Deploy and Enjoy
Mount your Ultimate 1.33‑inch WiFi Transparent TV Display within a case, prototype enclosure, or wearable device. Power it up and let your creation shine.
SEO‑Friendly Tips and Keywords
To optimize your product page or content for search engines, consider:
-
Mentioning synonyms naturally: tiny transparent display, micro WiFi TV, mini ESP32‑S3 screen, creative transparent display
-
Using long‑tail key phrases: “1.33‑inch WiFi transparent TV display module”; “ESP32‑S3 transparent smart display”
-
Including bullet points with clear specs and benefits
-
Adding real‑world use case headings (e.g., Use the Transparent Display in Wearables, Smart Mirror Applications)
-
Linking to tutorials, code repos, or GitHub guides for user trust and SEO relevancy
Authentic Testimonials (Hypothetical)
“This 1.33‑inch WiFi Transparent TV Display module is exactly what I needed for my wearable HUD project. It’s bright, compact, and surprisingly easy to program with ESP32‑S3.”
“The transparent panel looks incredible in a smart mirror build—when inactive it disappears, when active it shows info like magic.”
Final Thoughts
The Ultimate 1.33‑inch WiFi Transparent TV Display – Creative, Compact, and Powerful with ESP32‑S3 is more than just a display—it’s a canvas for your innovations. Whether you’re creating a mini magic TV, an overlay notification screen, or a cutting‑edge gadget, this module delivers clarity, connectivity, and style in a small package.
- Hign-concerned Chemical: None
- Display Mode: 600:1
- Model Number: ESP32-2424S013N_I_Y
- Resolution: 128*160
- Origin: Mainland China
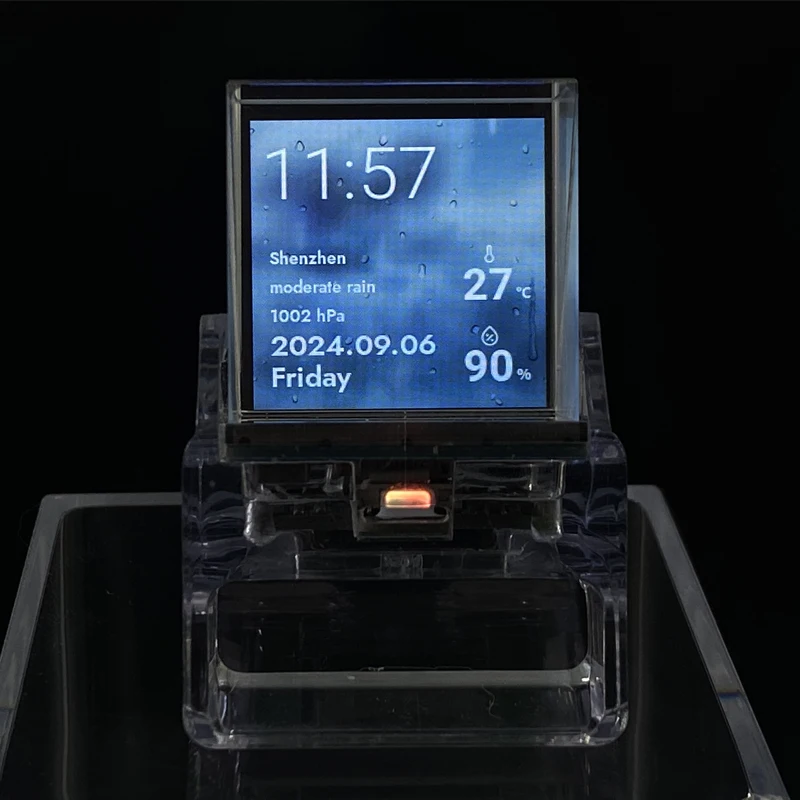
1.33-inch WiFi Creative Transparent Small TV 240 * 240 IPS Display ESP32-S3 8M PSRAM 8M FLASH
My-Ap, The password is 12345678
Download link for materials: http://pan.jczn1688.com/directlink/1/HMI%20display/JC2424W513.zip
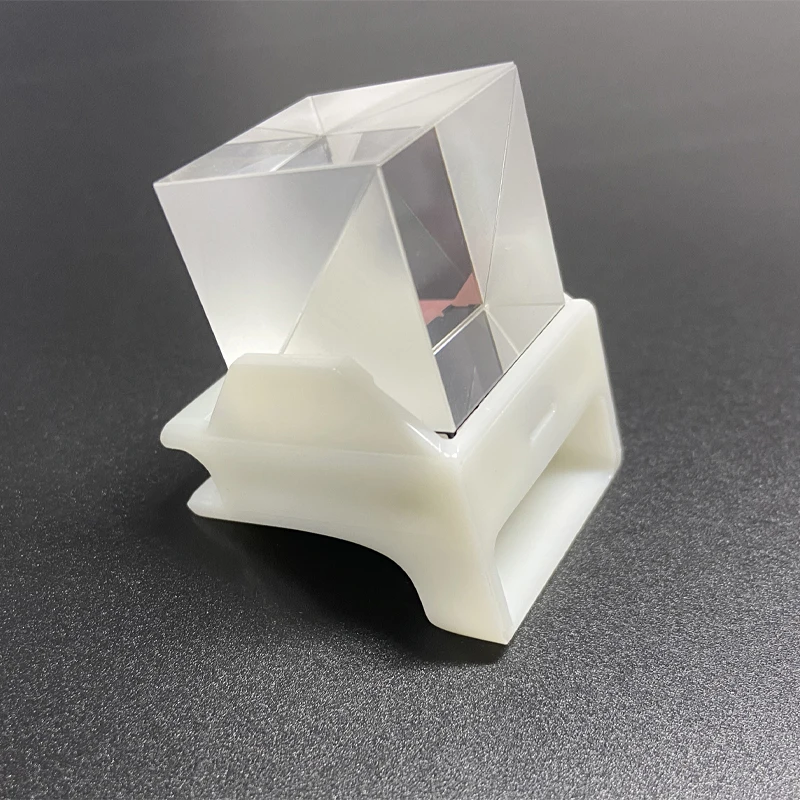
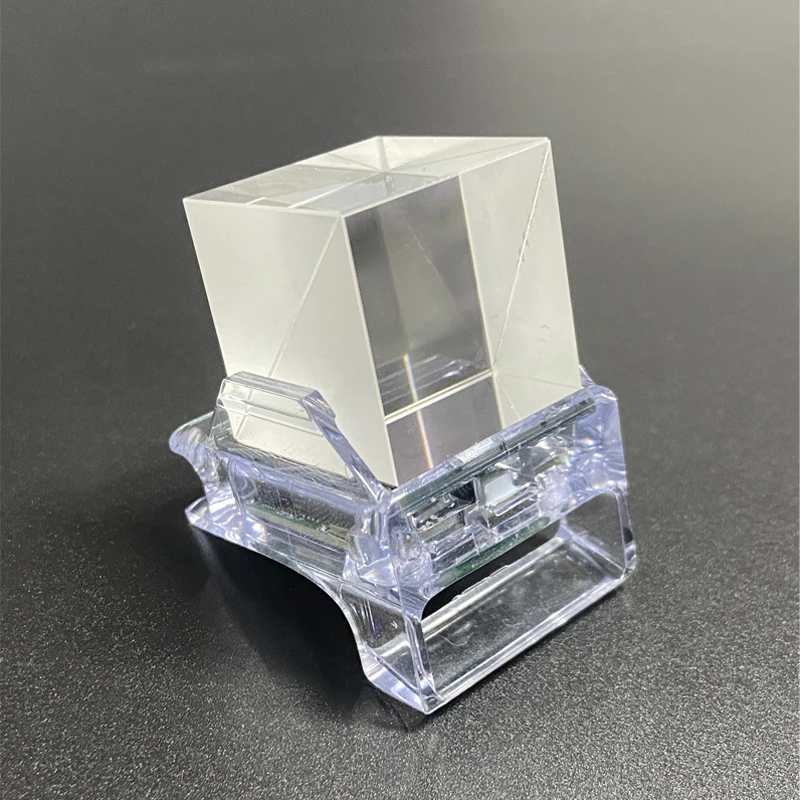
Overall size: 38mmx32mmx49mm(Small Size)
Optical prism size: 25.4mmx25.4mmx25.4mm
Power supply: DC 5V/1A
Six major functions: MJPEG playback, image playback, sound pickup spectrum, clock theme, real-time weather, computer secondary screen (aida64)
Select screen
Tilting left and right can enter different function screens for rotation, tilting back is confirmation.

Introduction to networking, using weather and secondary screen functions requires networking.
After powering on, the device will automatically open an AP named My App with a password of 12345678. Open the mobile hotspot, find My App on the WiFi connection screen, connect to this AP with your phone, wait for a moment, and the network page will pop up, automatically searching for the current environment
Internal hotspot, select your hotspot and enter the password to complete the distribution network. After the distribution network is completed, the screen will obtain an IP address, which can be viewed on the WIFI page in the settings.
Note: Some mobile phones will automatically disconnect the 5G network used by the hotspot once they find that the hotspot cannot connect to the Internet. At this time, they need to connect to the AP again. If the network page does not pop up after connecting to the AP, please enter 192.168.4.1 on your mobile browser to open it.
After successful networking, enter the settings page, click WiFi, enter the WiFi page, slide to the bottom and find the currently connected IP address. Enter the IP address of this device in the computer browser to enter the web control page.
1. MJPEG playback
The MJPEG file is saved in the mjpeg folder of the TF card and defaults to carousel playback. The playback content can be changed by tilting left or right.
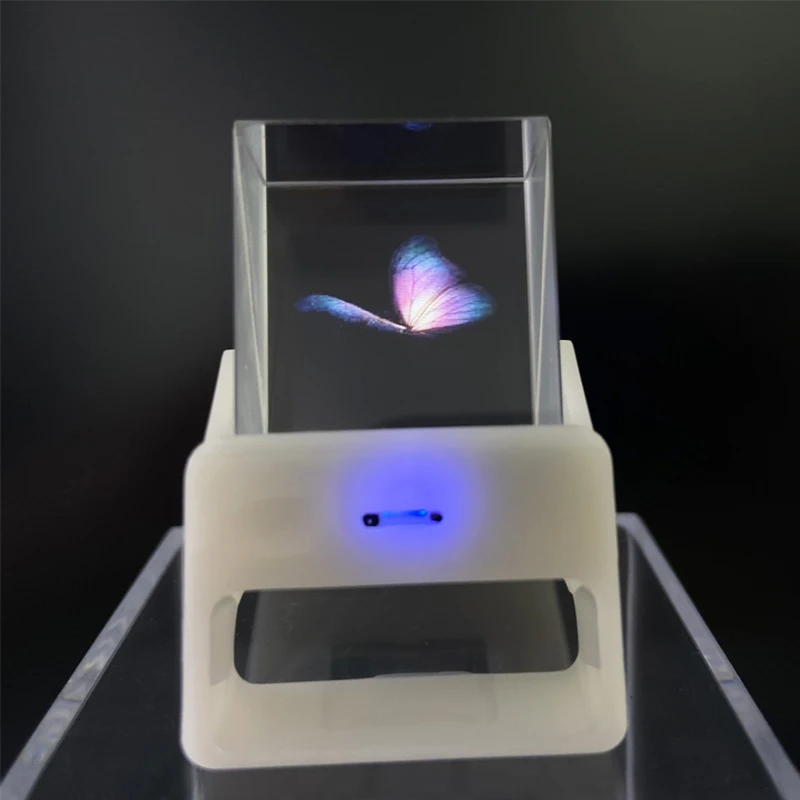
2. Picture playback
The photo file is saved in the TF card’s pic folder and defaults to carousel playback. The playback content can be changed by tilting left or right.

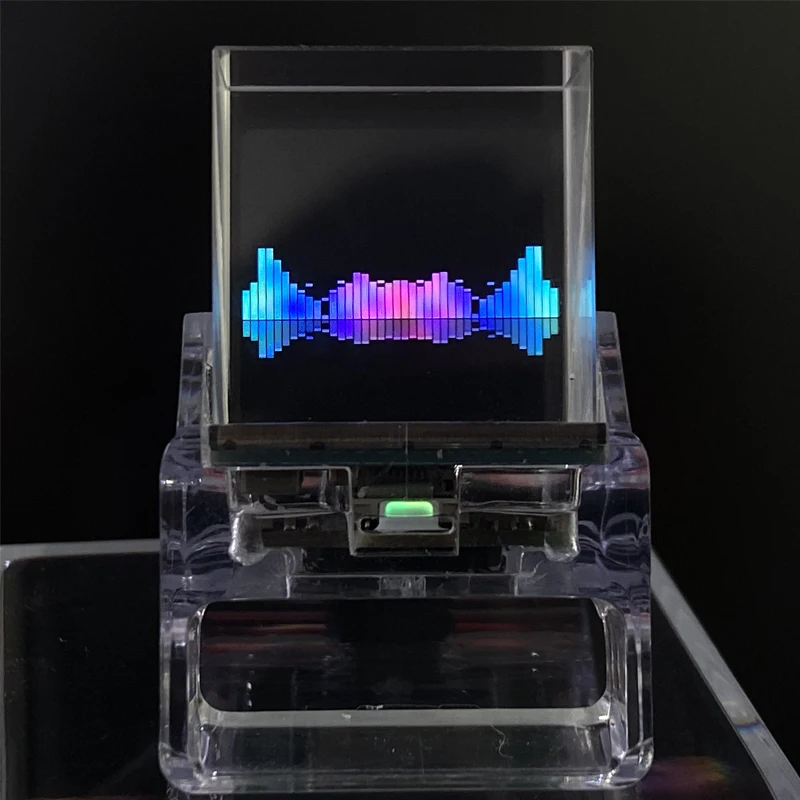
3. Pickup spectrum
Playing external MP3 files, the music score bar will change with the rhythm of the music. We highly recommend this feature for those who enjoy listening to music and watching music score bars.
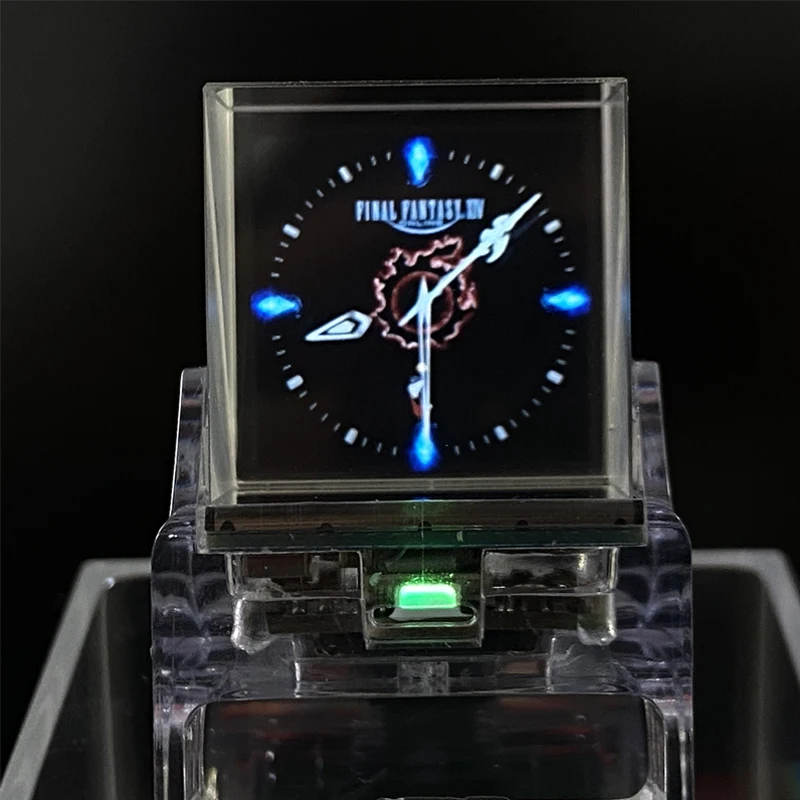
4. Clock theme
Built in 5 themed clock dials.
5. Real time weather
Once connected, real-time weather information can be obtained, and once connected, it needs to be set up on the web.1、注册api-key,打开地址:https://home.openweathermap.org/api_keys
1.Register an account to obtain API key

2. Open city.listion.json in citycode and open it in text format to find the corresponding city code.
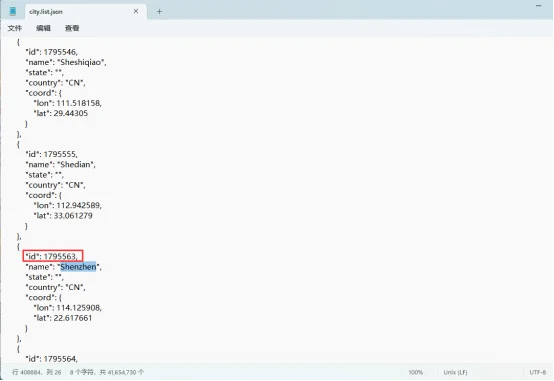
3. Enter the IP address of the screen on the browser, enter the city code and API key, and click save

6. Computer secondary screen
1. Find an activated AIDA64 client (self).
2. Menu [File] [Settings] [LCD], select Remote Sensor.
3. Port 80, freely fill in a resolution of 1280 × 800, and select ‘Enable Remote Sensor LCD Support’.
4. Click on ‘LCD Project’, click on ‘Import’ in the upper right corner, and then select the aida_remote_1.33 file provided by our file.
5. After importing, some settings need to be made because everyone’s CPU, GPU, motherboard, hard disk, network card, etc. are different. Please set them one by one, with 8 parameters: CPU usage CPU freq CPU temp CPU fan GPU usage GPU freq GPU temp GPU fan.
6. Please note that do not modify the text inside the “Show Label”. “Show unit” must be filled in with “^” (without quotation marks), otherwise the device will not detect it.
7. After all modifications are completed, click OK and then minimize AIDA64. You can make it start automatically when turned on in the settings. (Settings, General, Running AIDA64 at Windows Startup).
8. Access the IP address of the screen through the webpage, set the IP address of your computer (i.e. the IP address of the computer running AIDA64) in the “Secondary Screen Host Address” at the bottom, and then save it.
If the local port 80 is occupied, a colon and a custom port need to be added after it.
for example
192.168.0.100 uses the host address 192.168.0.100 and defaults to port 80
192.168.0.100:9223 uses the host address 192.168.0.100 and port 9223
Note that the colon is an English colon “:”.
9. Firewall allows AIDA64 to access the network, or manually open TCP80 port (or your custom port), important! https://jingyan.baidu.com/article/af9f5a2d2ea83543140a4584.html
After setting up, switch the screen to the AIDA64 function window to display computer status information.
Describe Figure 7


Reviews
There are no reviews yet.